I have to admit, I didn’t even know there was such a thing as goats milk melt and pour soap base until recently.
But once I found out how easy it is to make homemade soaps, I quickly fell in love with these goat milk soap recipes!
It’s so easy to use this pre-made soap base. Literally, just melt and pour!
These solid lotion bars are also super easy to make, too. And make great gifts!
You can fool all of your friends and family into thinking that you spent a lot of time making a gift. Or just make really gorgeous soaps that you love to keep on display in your bathroom or by your kitchen sink.
Making your own melt and pour soap takes very little time. Waiting for your soap to cure, or dry, actually is the most time consuming aspect of soap making.
Here are seven goats milk melt and pour soap recipes. If you’re not familiar with using the ready-made soap base, see my FAQs section below.
🐐 For all recipes, I recommend this goats milk soap base made in the USA. 🐐
Jasmine Flower Goats Milk Soap
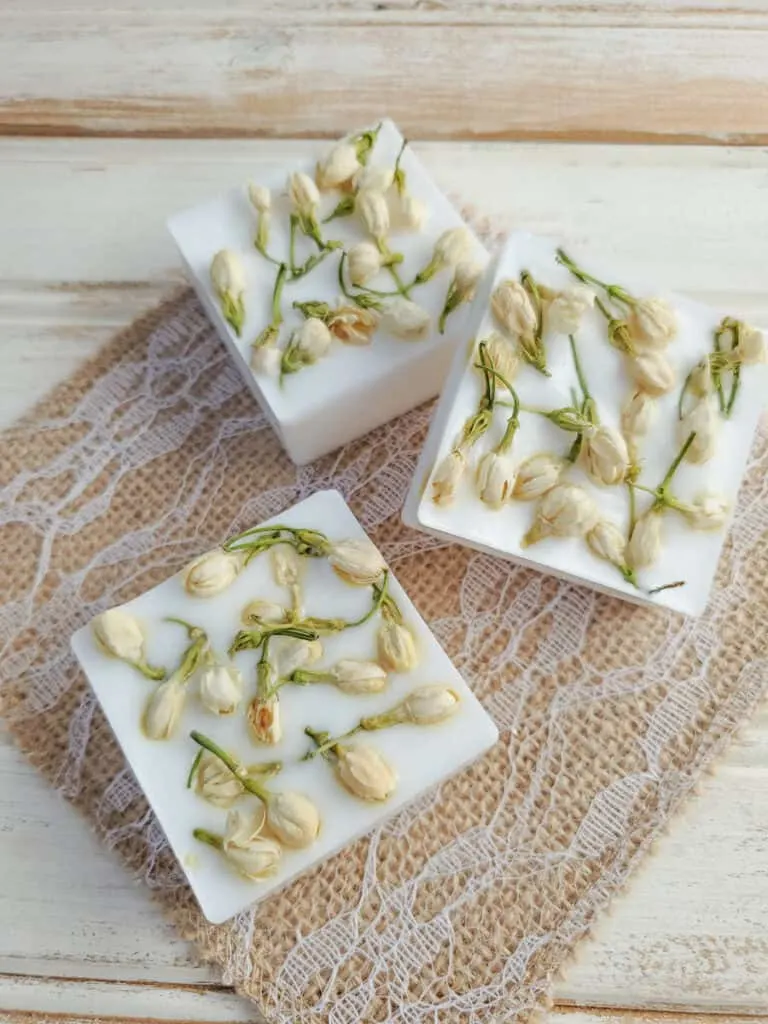
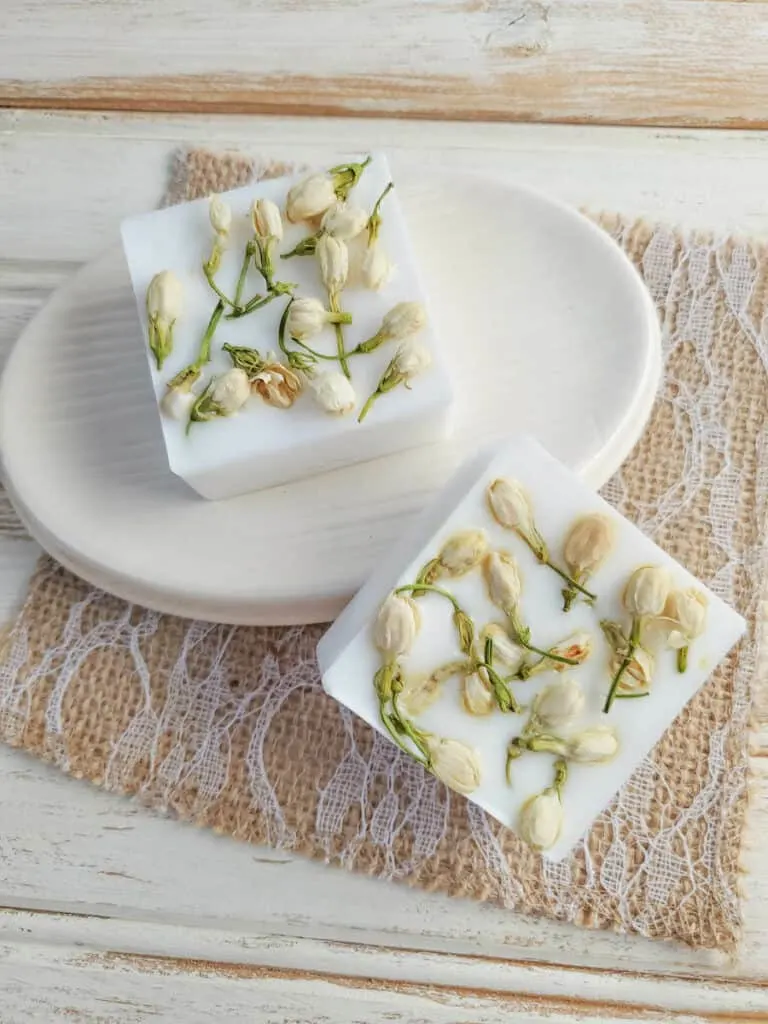
This melt and pour jasmine soap combines dried jasmine flowers and jasmine oil to create a beautiful bar of soap that will look gorgeous on your bathroom vanity. Plus, this strong scented soap also provides fragrance to your room. This is the perfect homemade soap recipe to follow if you’re looking for handmade gift ideas too.
Supplies
Yield: 4 soap bars using the mold below
- 1 pound Goat’s Milk Melt and Pour Soap Base
- 25 drops Jasmine Essential Oil
- Dried Jasmine flowers (I used the jasmine flowers out of this multi-pack dried flower kit. You could use the other flowers to make other types of soaps.)
- 2 inch square soap mold (This is the soap mold I used for this recipe. I used a different one for the recipes below.)
- Small spray bottle with rubbing alcohol (optional)
Directions
- Cut soap into 1 inch squares and place into microwave safe container.
- Heat soap in microwave on high for 30 seconds, remove and stir. If soap is not completely melted, heat for 10 second intervals, stirring in between. It is very important to melt in small bursts of heat, rather than one long continuous time.
- Remove from microwave and add essential oil. Stir well.
- Pour into soap mold.
- Sprinkle top of soap filled molds with dried Jasmine flowers.
- Spray with rubbing alcohol to help reduce bubbles (optional).
- Let soap set for 1-2 hours without disturbing the mold.
- Remove from the mold and store in an airtight container to preserve the scent.
Orange Chia Goats Milk Soap
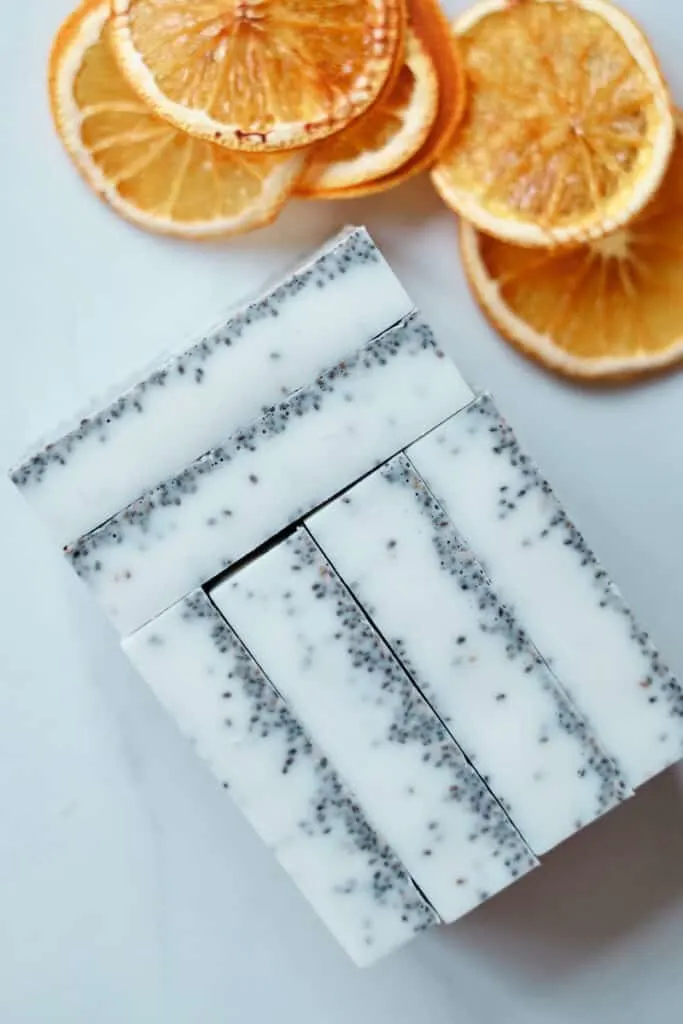
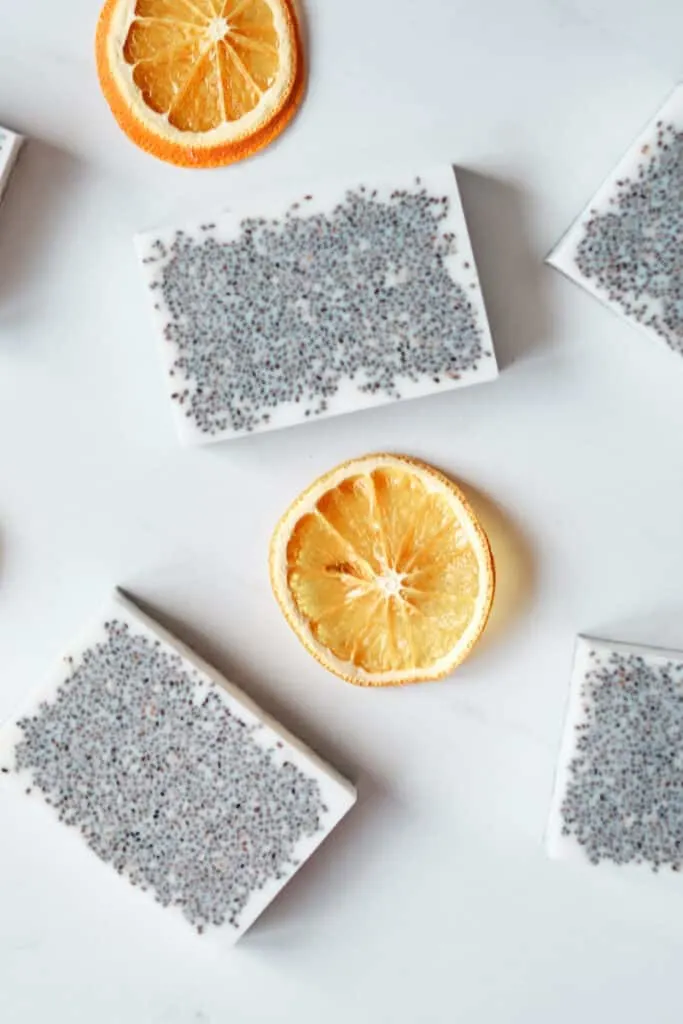
This is certainly a different type of soap! And it’s uniqueness will be what you love about this recipe. Chia seeds are a great exfoliant for the skin. Plus, the seeds just look pretty!
Supplies
Yield: 8 soap bars
- 2 lbs. goats milk soap base
- ½ cup chia seeds
- 25 drops orange essential oil
- Silicone molds
Instructions
- In a heavy saucepan melt the soap base down to liquid on medium heat. Do not boil!
- Remove from the heat and mix in chia seeds and essential oils. Stir until all of the seeds are coated and in the soap base.
- Pour into the molds and set aside to set overnight.
Another great exfoliating soap is my coffee soap melt and pour recipe using a shea butter soap base.
More Goats Milk Soap Recipes
I have even more recipes in separate blog posts, including:
- Turmeric Soap Bars
- Exfoliating oatmeal soap with cinnamon
- Dried Yarrow Flower Soap
- Lavender Almond Sugar Scrub Soap Bars
- Goats Milk and Honey Melt and Pour Soap Recipe
FAQs for Making Goats Milk Soap
Does homemade soap expire?
In short, the answer is no, homemade soap does not expire. Homemade soap will last for quite a long time, as long as it is not used.
I like to store my homemade soap in something air-tight, such as a plastic wrap alternative, to keep the fragrance strong until you use it.
Keep in mind, if you use food-based products in your homemade soaps, those ingredients could start to spoil long before the actual soap base would have a problem.
How long does melt and pour soap last?
One you use your soap, you can count on melt and pour soap to last up to 4-6 weeks, depending on how often it is used.
Goat’s milk is a softer soap, and so I suggest that you do your best to keep the soap dry after use. Don’t leave it in a wet shower, or in a wet soap dish as the soap will be used up faster.
Does melt and pour soap need to be wrapped?
Unlike cold process soap, melt and pour soap should not have much contact with air. You should wrap your handmade soap in plastic wrap once it hardens, which helps to prevent glycerin dew.
Can you reheat melt and pour soap?
Melt and pour soap base can be melted over a double boiler on the stove top, or in a microwave oven. You can reheat melt and pour soap, but watch closely and pay attention to when it is fully melted.
Once you burn melt and pour soap base, there is no going back!
