This easy-to-make DIY beeswax balm is nourishing to your skin, with impressive moisturizing properties thanks to the natural ingredients.
You might think that making a beeswax salve is hard, but it’s definitely not! All you need is to heat and mix a few key ingredients together and you have a homemade salve.
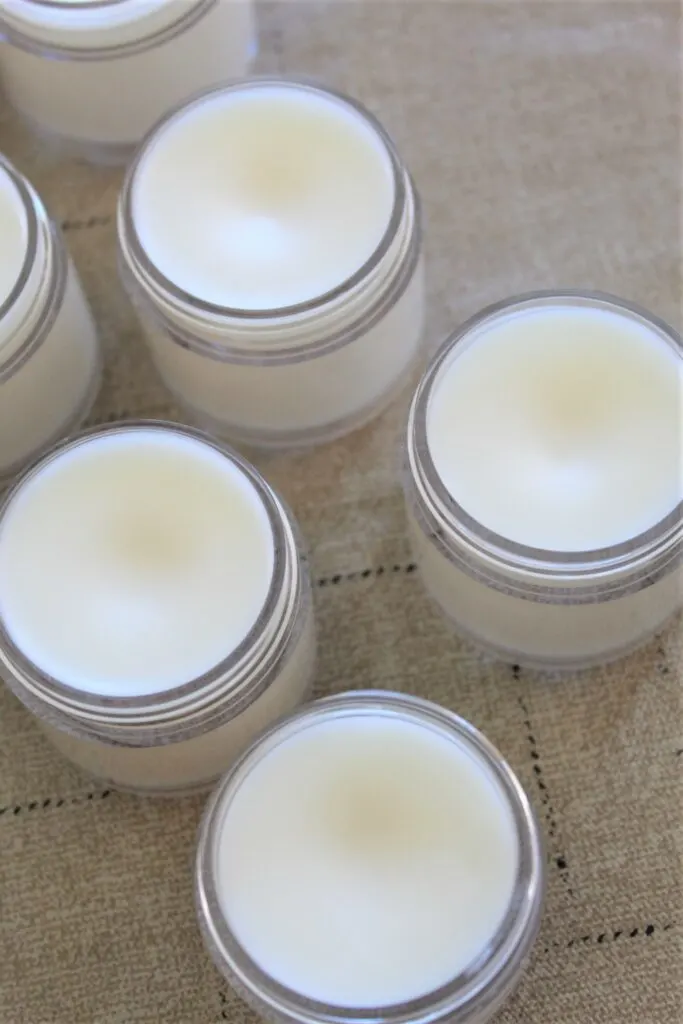
Balms Vs. Salves
There is not much difference between a balm and a salve. Most people use the word interchangeably.
In general, a balm or salve is something that you make with non-toxic ingredients, that is designed to soothe or heal your skin. A balm or salve has more of a solid application, rather than being a liquid, gel or lotion consistency.
There are some common properties of both balms and salves, such as:
- No water as an ingredient
- Using beeswax
- Carrier oils
- Essential oils are used
- Used topically
The main difference between a balm and a salve is that a balm is more solid and harder in consistency. (For instance, a lip balm is solid enough to be in a twist-up tube. A lip salve would be in a tin container and applied with your finger.)
If you want a great lip balm recipe, check out my DIY Beeswax Lip Balm made in 3 simple steps!
Balms require a little more rubbing in to the skin because they have a higher wax content. Salves usually have a higher oil content, which makes them easier to rub into the skin.
This recipe is more of a balm, since the ratio of beeswax to other oils is higher. However, you might call it a salve, too. As long as it works, it doesn’t matter what you call it, right!
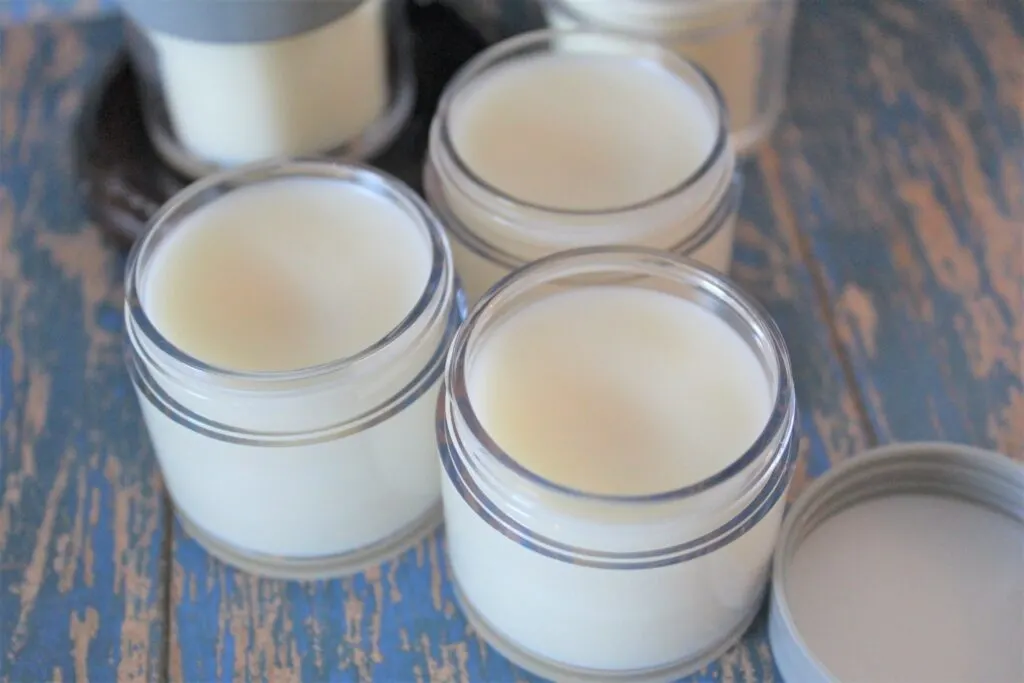
Check out my DIY winter skin balm which is applied from a tube for hands-free application. Or my solid beeswax lotion bars.
This DIY anti-aging eye balm (without beeswax) is also great to make, too.
How to Use Beeswax Balm
This all natural balm is perfect for a variety of uses. You’ll want to have it on hand at all times.
The main recipe is a base beeswax balm recipe. You could use it as it is for a general moisturizing balm.
Adding different essential oil combinations can customize this balm. I have added essential oil recipes below the recipe for all-purpose skin balm, tension balm and allergy relief balm.
These pots of beeswax salve also make a great gift!
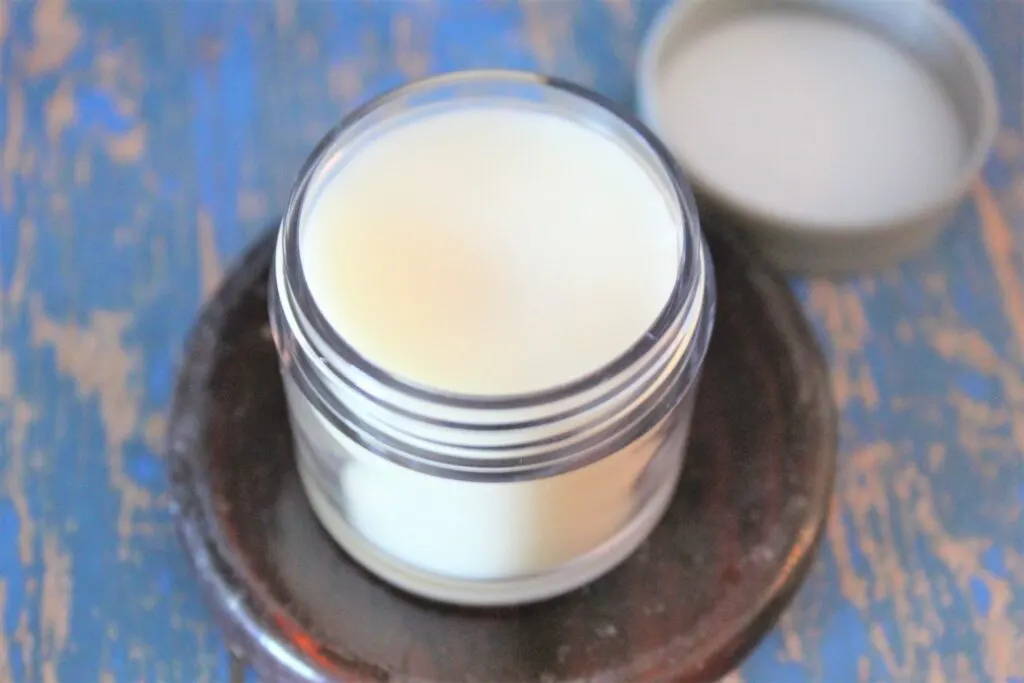
It is a great body balm and foot balm, with a high concentration of oils to soothe dry skin.
You might find it especially nourishing for cracked feet. I suggest applying it to your feet and then putting on thick socks. The heat from the socks will help the beeswax and oils sink into your skin. It is also better to wear socks so that you don’t rub the balm off of your feet.
The balm is great to use as a hand salve. It’s perfect for applying to cuticles, hang nails or cracked skin around your fingernails. Rub it into the back of your hands for a nourishing barrier that keeps the moisture in your skin and protects from dry weather.
How to Make a Balm with Beeswax
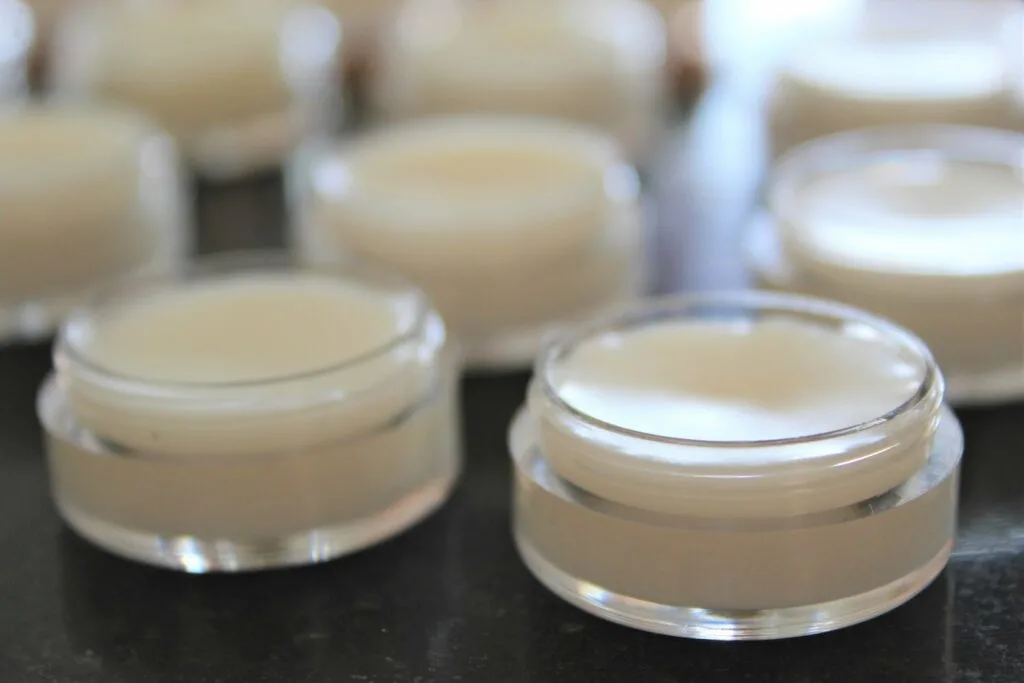
This recipe makes three 1-ounce sized jars of beeswax balm. I used plastic pots with lids for my recipes. However, you could use these blue glass jars that block UV light from breaking down your balm.
Ingredients
- 2 ounces beeswax pastilles (or a beeswax chunk chopped finely)
- 2 tbsp. coconut oil
- 1 tsp olive oil (or another carrier oil, such as sweet almond or jojoba oil)
- Essential oils (see recipes below)
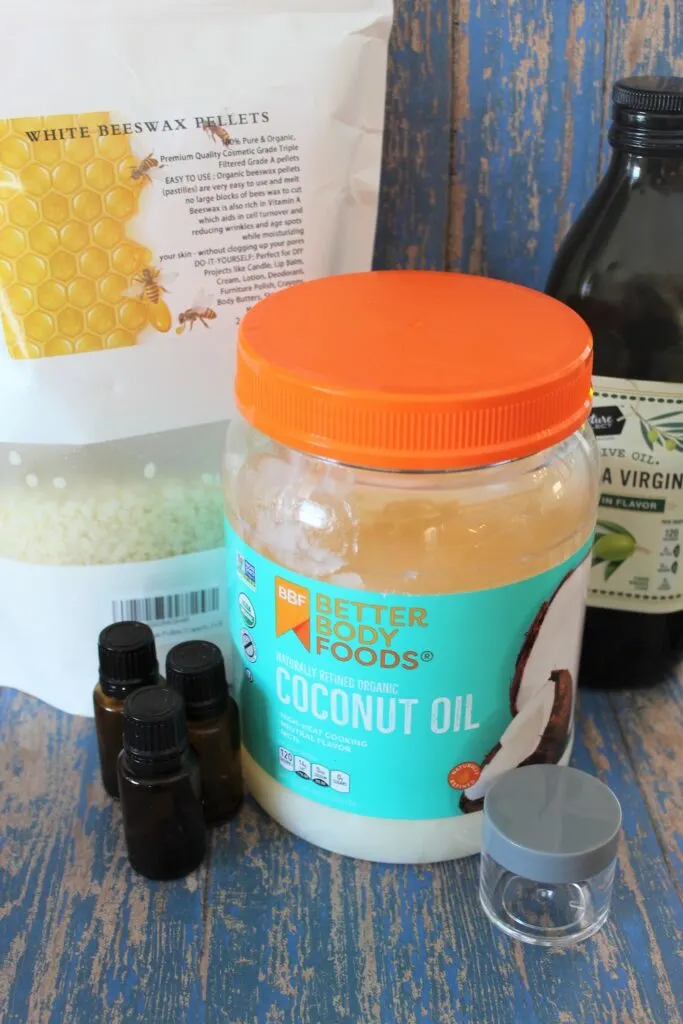
Directions
Step 1
Add water to the bottom half of a double boiler 2/3 of the way full. (If you don’t have a double boiler, see helpful tips below.) The water needs to come up around the bottom of the top pot.
Add beeswax to your top pot of the double boiler. Use medium-high heat to start melting the beeswax. Once the water begins to gently bubble and is almost ready to boil, turn the heat down to low. With a metal spoon, stir the wax constantly and break up the chunks so it melts faster.
Step 2
After the wax has melted to become clear and liquid, add in the olive oil and stir well. Then add the coconut oil and mix together.
Add in the essential oils and stir together until completely dispersed.
Step 3
Pour the salve into the containers. If the mixture is thickening up or sticking as you are filling, place it back on the heat and allow it to melt again.
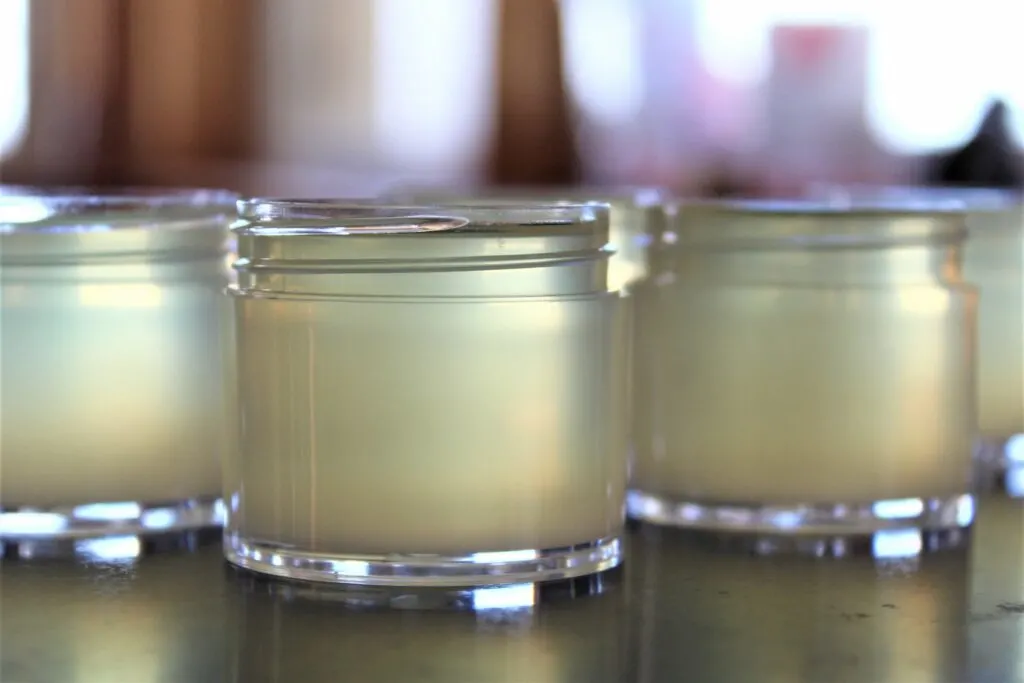
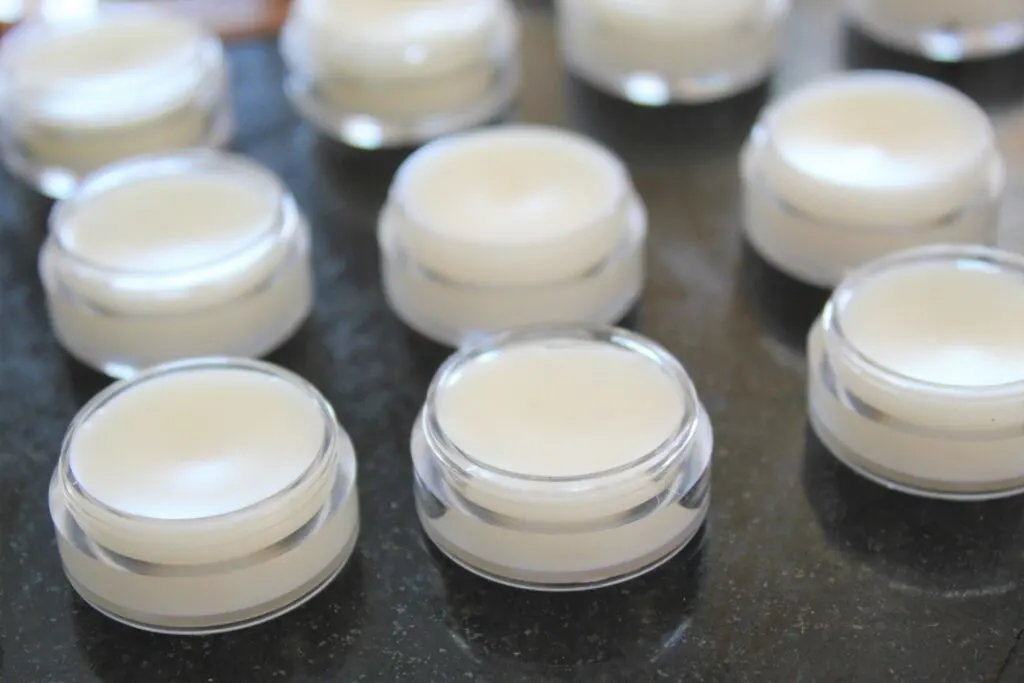
Let the balm cool for about an hour. It will start out clear, but soon turn a solid color. The middle might not cool as fast as the outer part. To check if it is fully cooled, feel the bottom and sides of the container and if they are cool to the touch, they should be finished.
Essential Oil Blends for Homemade Balms
Add these essential oil combinations to the base beeswax balm mixture to customize for your needs.
All Purpose Balm
- 20 drops frankincense essential oil
- 22 drops geranium essential oil
- 17 drops myrrh essential oil
Tension Balm
- 22 drops copaiba essential oil
- 20 drops marjoram essential oil
- 16 drops lavender essential oil
Allergy Relief
- 20 drops lemon essential oil
- 22 drops lavender essential oil
- 22 drops peppermint essential oil
Helpful Tips
- Coconut oil is a solid at temperatures below 72 degrees. To get an accurate measurement, you will need to melt the coconut oil, rather than using hard chunks. Scoop a little bit into a small bowl and microwave for about 10-15 seconds to gently melt the oil for measuring.
- If you do not have a double boiler, you can use a small pot or a heat-safe glass bowl that fits over a base pot with simmering water.
- Beeswax can burn easily, so be sure you melt it slowly, rather than too quickly, so that you don’t ruin the base ingredient of the balm. If your beeswax sticks to the spoon while stirring, use a second spoon to scrape the wax off of the first spoon as it melts to become a liquid.
Be sure to Pin This DIY Beeswax Balm recipe to save for later!
Want more easy DIY beauty recipes? See these ideas next: