
If you have ever reached for Vicks VapoRub to breathe easier and suppress coughing, then you know how effective it works.
It is easy to make a DIY Vapor Rub that works in a similar way. You can choose all natural ingredients for your homemade version, including the essential oils that are often used in the store-bought brands. Plus, this recipe can be used in a solid stick form, so there is less of a greasy mess.

*This rub is only to be used on adults.
Helpful Tips for Making a DIY Vapor Rub
- This recipe doesn’t have all of the same ingredients as Vicks Vapor Rub. Therefore, it might not be as powerful for controlling the symptoms. You will need to try it yourself and see if you get the same type of relief.
- The Vapor Rub can be stored in a jar or made into a vapor rub stick.
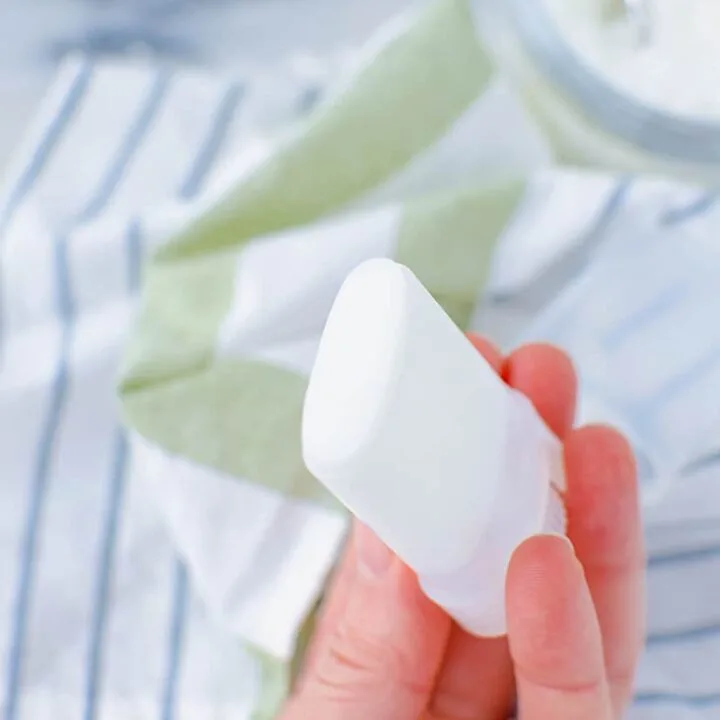
- I transferred the liquid to a small twist-up tube that can easily be applied to the skin without any mess. It’s also convenient to carry with you in your purse or backpack when on the go.
- Store this rub in a cool, dark place. Don’t expose to high heat, or the ingredients can melt. Coconut oil melts at 77 degrees or hotter.
- Apply the rub to your upper chest or the bottoms of your feet. If applying to your feet, cover with socks.
You might also like my Sinus Congestion Relief Bath Salts, too.

This recipe uses some of the same ingredients used in my soothing balm for dry skin and homemade chocolate mint lip balm. Why not make them all!?
Homemade Chest Vapor Rub
This homemade chest rub releases cooling essential oils that could help you breathe easier. Get the printable recipe card below.
Ingredients
- 1 teaspoon of beeswax
- 1 tablespoon of coconut oil
- 3-4 drops of high quality peppermint essential oil
- 8-10 drops of high quality eucalyptus essential oil
- 2 drops of lavender essential oil, optional

Instructions
Step 1:
Using a double boiler method, melt the beeswax and coconut oil. I did this by adding the ingredients to a canning jar, and setting in a pot of very hot water.

Step 2:
Remove the jar from the heat. Then add in the essential oils and stir.
Step 3:
You may leave the vapor rub in the glass canning jar or add to a twist-up tube.


Whichever container you use, allow it to dry and harden fully before applying to skin.
In a hurry with no time for DIY projects? Then check out Maty’s All Natural Vapor Rub (they have a Baby Chest Rub, too) and Zarabee’s Naturals vapor rub for children.
DIY Vapor Rub: Natural and Homemade
This homemade chest rub releases cooling essential oils that could help you breathe easier.
Materials
- 1 teaspoon of beeswax
- 1 tablespoon of coconut oil
- 3-4 drops of high quality peppermint essential oil
- 8-10 drops of high quality eucalyptus essential oil
- 2 drops of lavender essential oil, optional
Instructions
- Using a double boiler method, melt the beeswax and coconut oil. I did this by adding the ingredients to a canning jar, and setting in a pot of very hot water.
- Remove the jar from the heat. Then add in the essential oils and stir.
- You may leave the vapor rub in the glass canning jar or add to a twist-up tube. Whichever container you use, allow it to dry and harden fully before applying to skin.
Notes
To use, apply to your upper chest or to the bottoms of your feet and then cover with socks.
Recommended Products
As an Amazon Associate I earn from qualifying purchases. I earn from other affiliate programs, as well.
-
 NOW Essential Oils, Eucalyptus Oil, Clarifying Aromatherapy Scent, Steam Distilled, 100% Pure, Vegan, 4 Fl Oz (1 Count)
 -
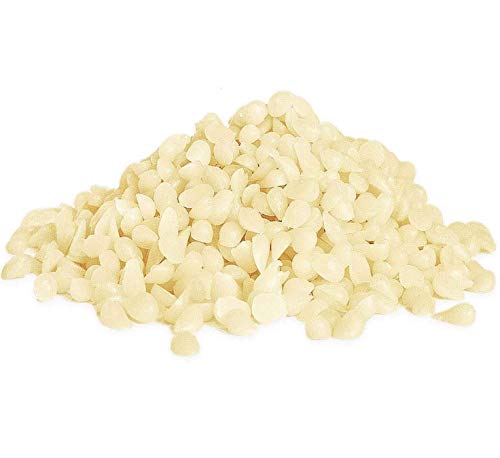 YIH Beeswax Pellets 2 lb, White, Pure, Bees Wax Pastilles, Triple Filtered, Great for DIY Projects, Lip Balms, Lotions
 -
 Goege 15 ML Clear Empty Plastic Oval Deodorant Containers Lip Balm Tubes for Lipstick, Crayon,chapstick,homemade Lip Balm,BPA Free (10 Pcs)
Pin This Recipe to Save for Later!

Our easy peppermint shower steamers also offer sinus-clearing benefits.