

While pumpkins can be found on porches and fireplaces during fall, I like to change things up a bit and make a DIY pumpkin vase. Did you know that you can make a fresh floral arrangement in a pumpkin for a gorgeous centerpiece?
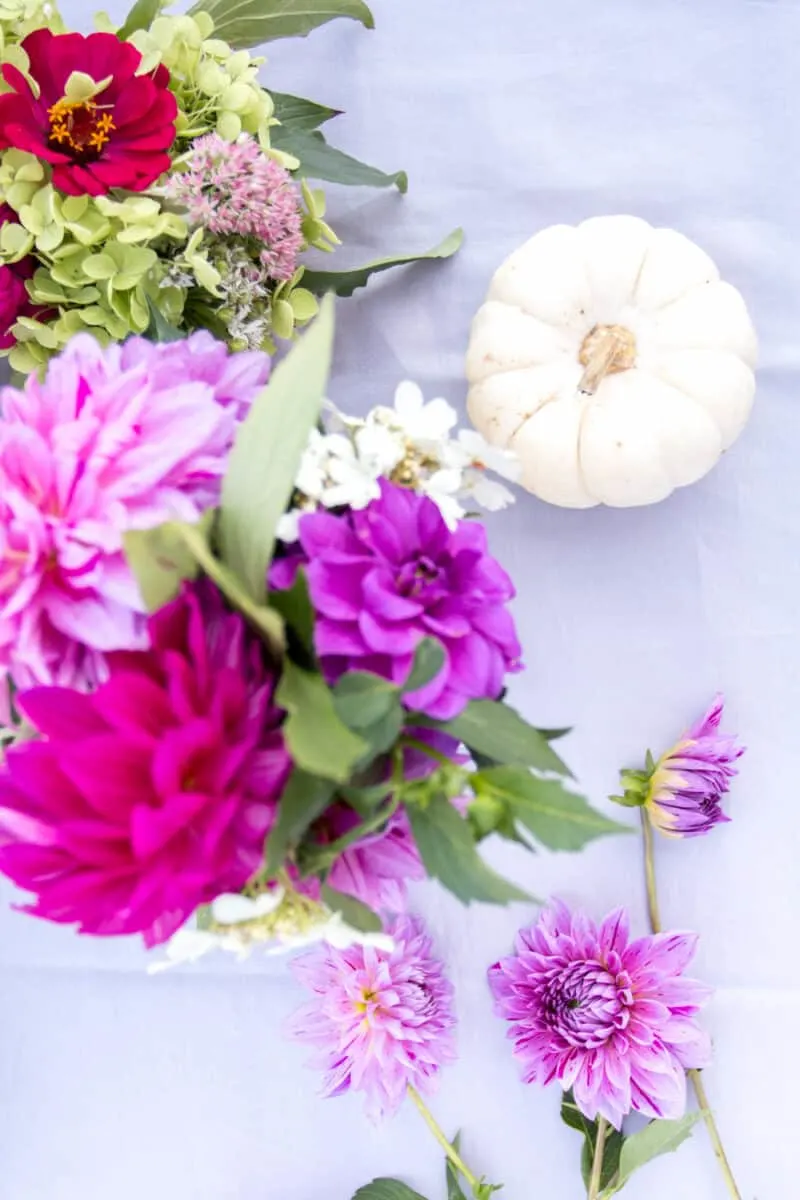
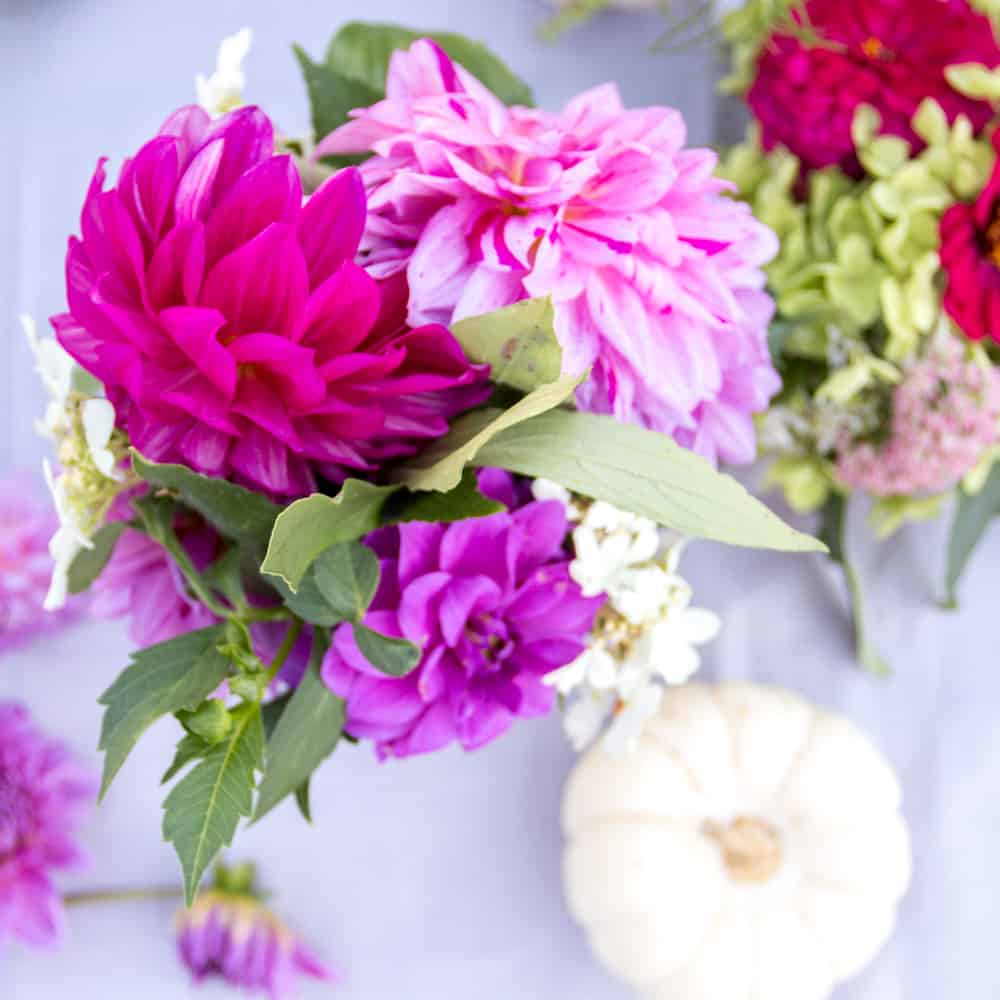
These colorful pumpkin flower centerpieces add a fresh touch to traditional fall decor. Using all natural materials, they show off the bounty of a harvest. Yet the color palette is whatever makes you happy and fits in with your entertaining.
If you’d like traditional colors of autumn, then use red, yellow and orange flowers in a big orange pumpkin.

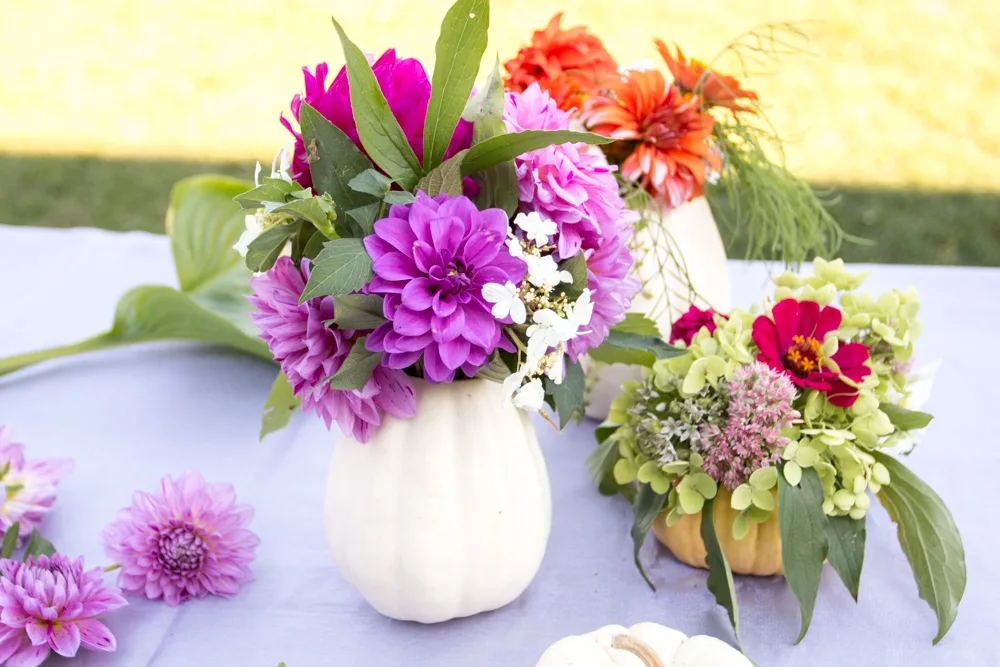
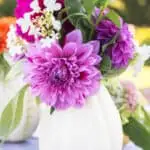
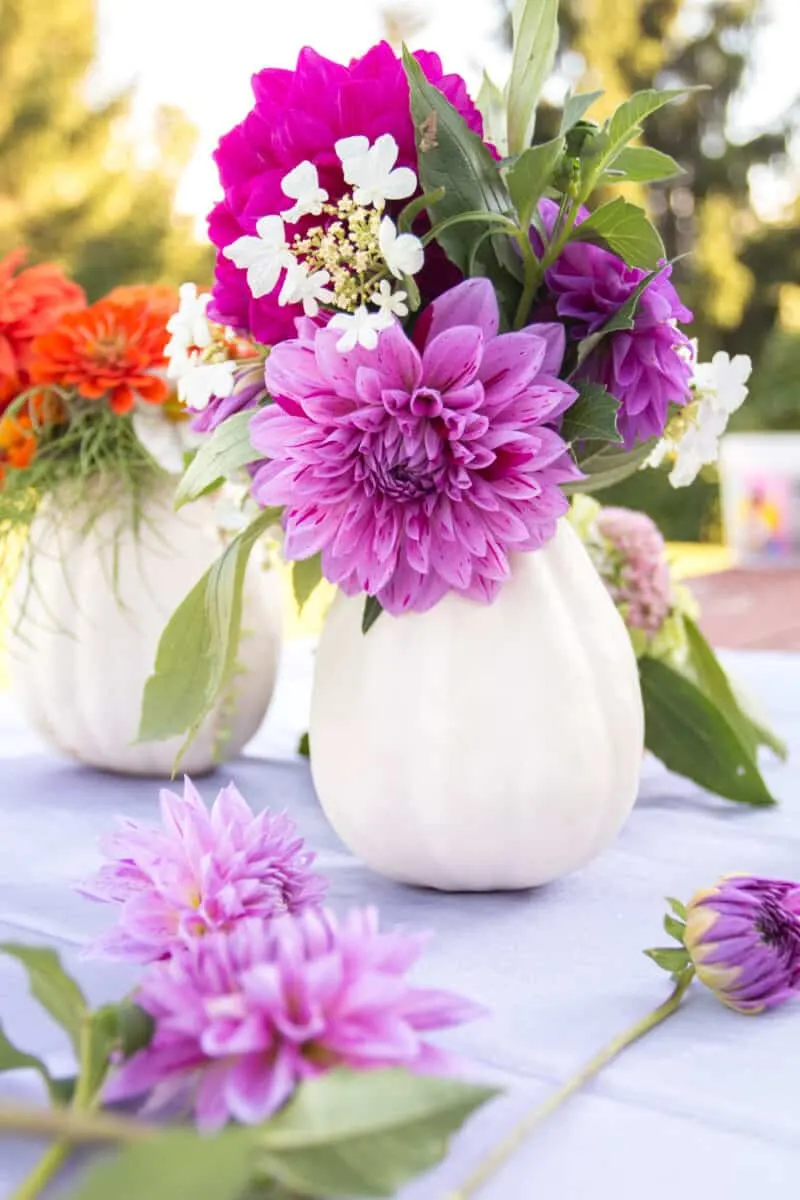
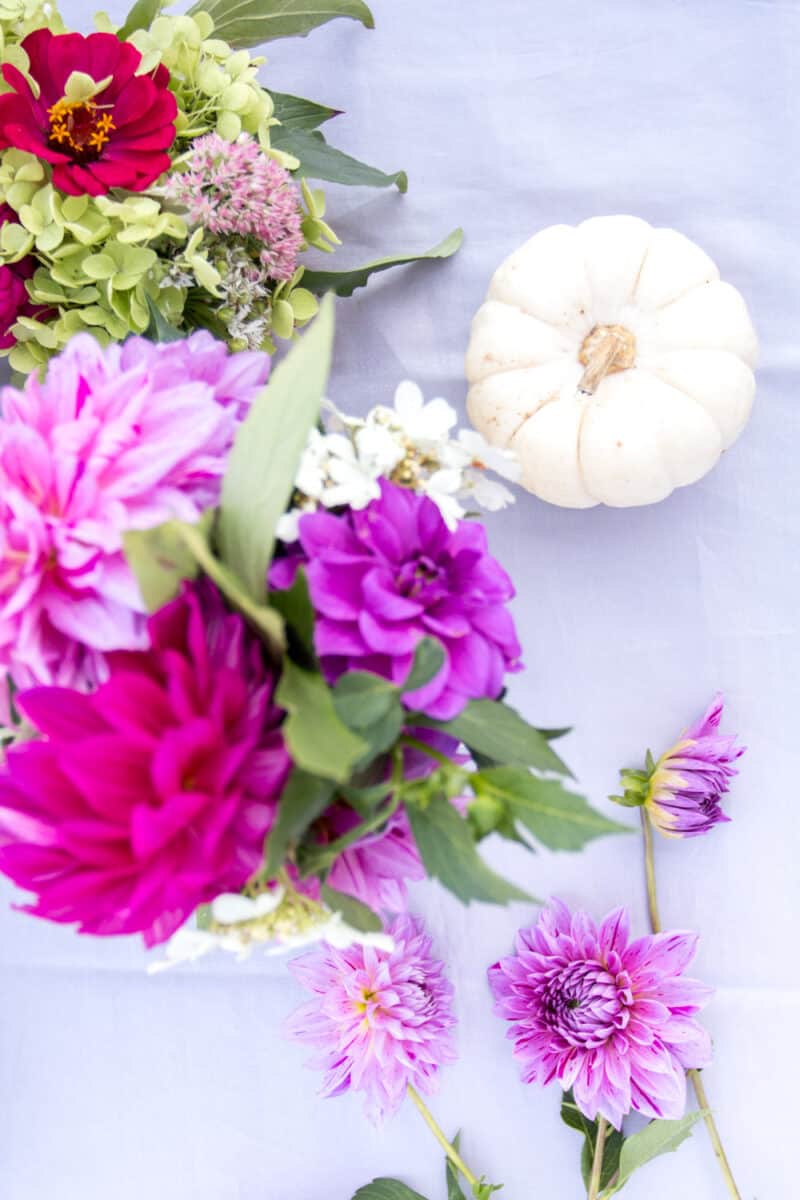
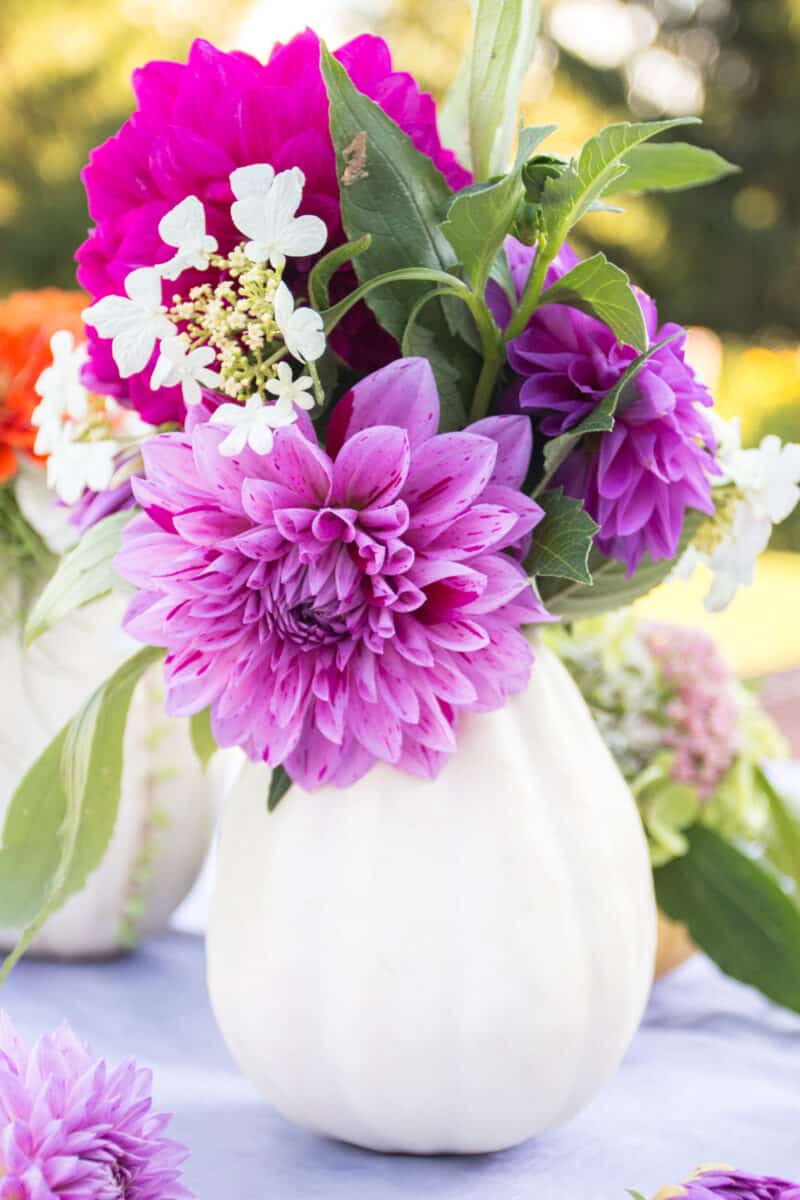
For something a little different, use purple and orange flowers in a white pumpkin vase like I did. Use up the fading hydrangeas and zinnias in your garden for a beautiful display.

And when you are done with the vases, the entire centerpiece can be composted for zero-waste decorations.
If you are using these pumpkin floral arrangements as table centerpieces, be sure to see my DIY pumpkin napkin rings and DIY pumpkin name card holders.
How to Use a Pumpkin as a Vase
What I love about these fresh pumpkin flower vases is that they are so easy to make.
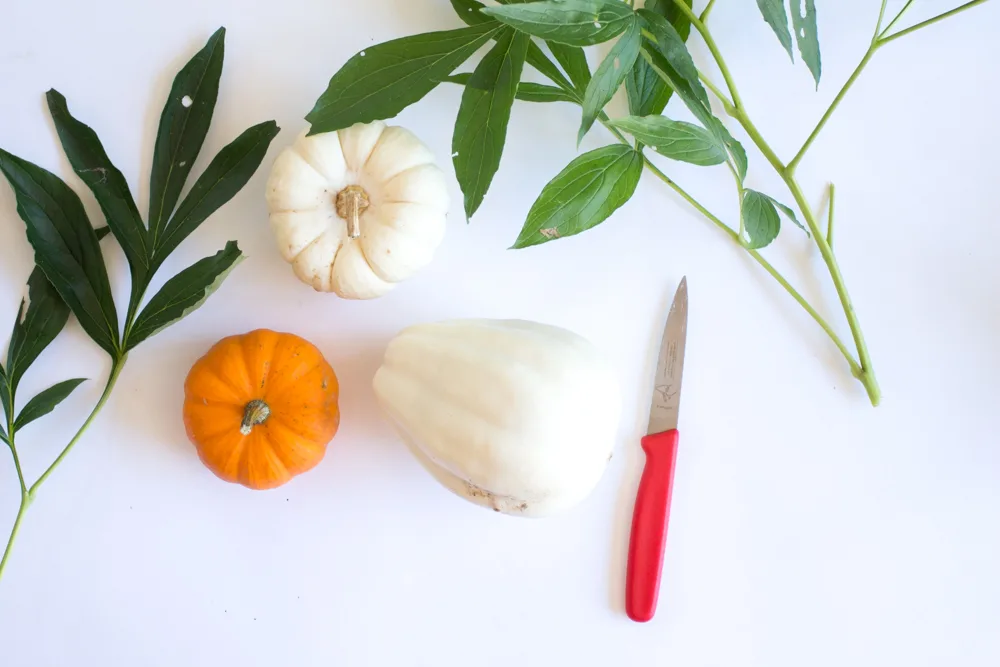
Any pumpkin or gourd that has a flat bottom and can stand upright will work to make a vase. You can choose white pumpkins, orange pumpkins, striped gourds and even mini pumpkins, like I show above.
These vases work great as table centerpieces when many small pumpkins are arranged together. Or use one large pumpkin filled with flowers as a dramatic table arrangement.
Add vases to end tables and throughout your home. You could also add a fresh pumpkin flower vase on your porch to welcome guests.

How to Make a Vase Out of a Pumpkin
Materials
- Fresh miniature pumpkin or gourd
- Paring knife or carving knife
- Spoon
- Fresh water
- Cut flowers and greenery

Directions
Step 1
Wash the outer surface of the pumpkin. Use soapy water and gently get off any dirt or debris with your hands or a soft brush. Pat dry with a towel.
Step 2
If the pumpkin wobbles while it is placed on a table, you will want to level it.
Slice a small bit off the bottom of whatever side is not level (be sure not to cut too deep!) so that it sits flat on a surface.
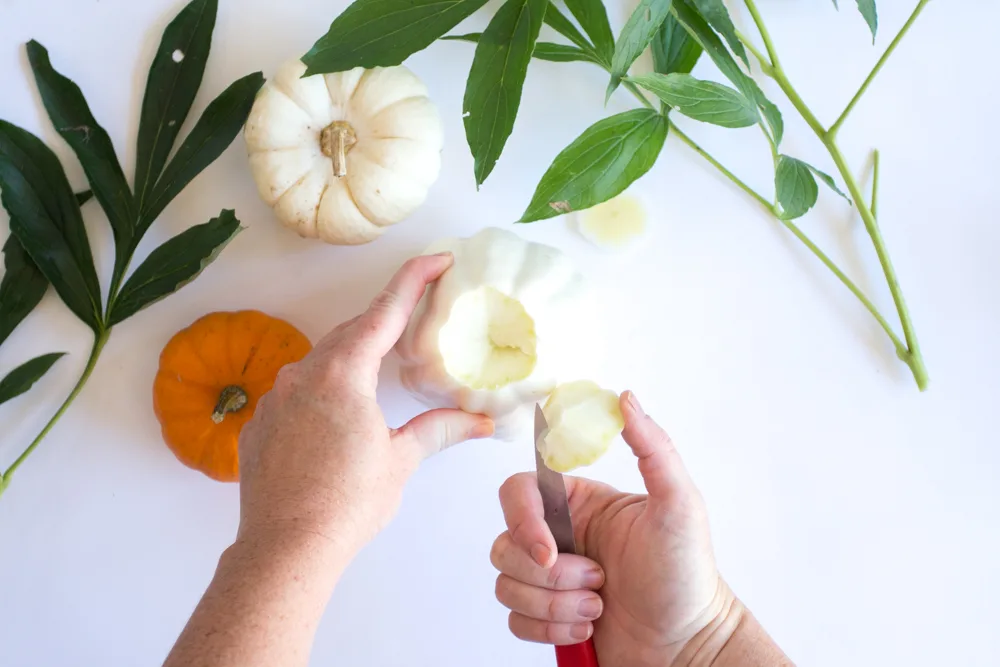
Step 3
Carefully carve out a small, round opening at the top of the pumpkin using a sharp knife. The hole can be as small or as large as you’d like.
Always aim the sharp side of the knife away from you as you cut into the pumpkin top.

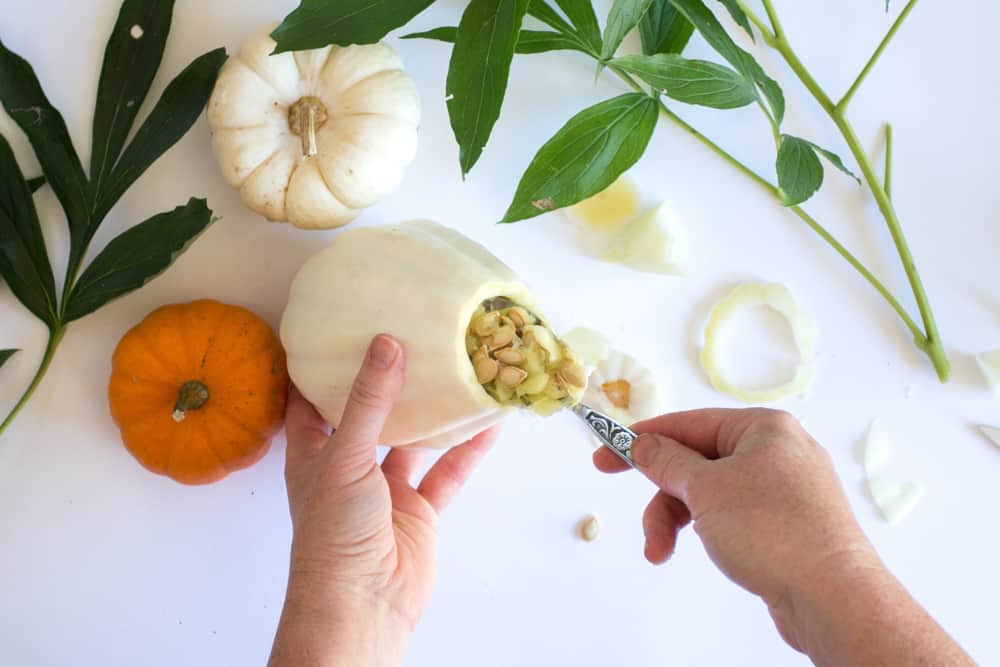
Step 4
Scoop out the pumpkin flesh and seeds from the inside. Spoon as much liquid, flesh and debris out as possible.
Rinse out the inside with running water to remove as much as possible.

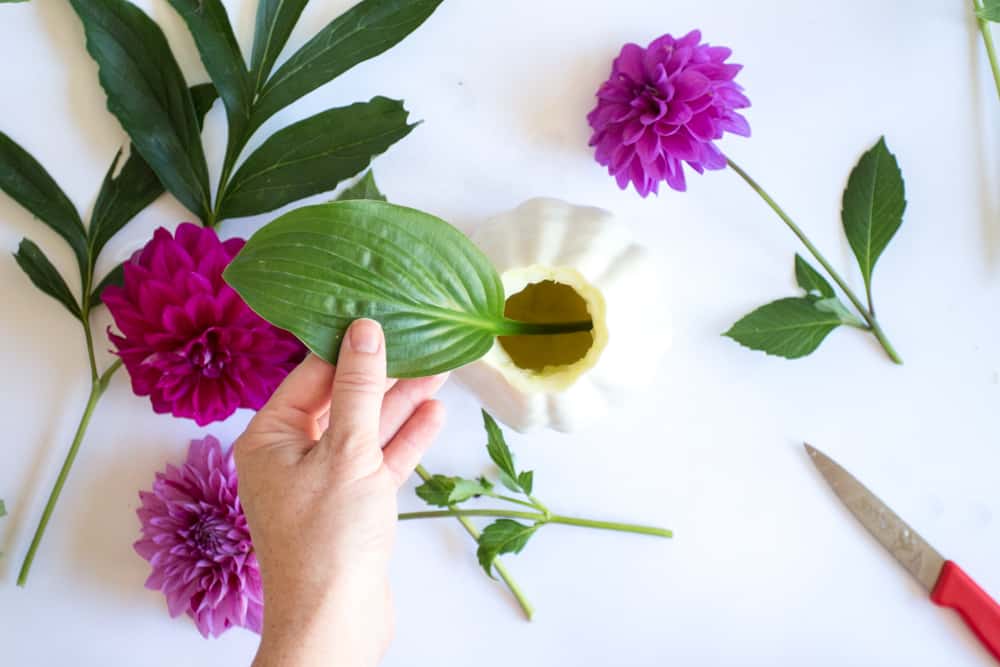
Step 5
Fill the pumpkin about halfway with water.
Add greenery if you’d like. Think of tree branches, shrubbery, pine needles and more evergreen plants.

Step 6
Wondering how to put flowers in a pumpkin? It’s super easy! Add cut flowers into the hollowed out portion. Put the tallest flowers in the center. Then fill in the outside of the flower arrangement with shorter ones.

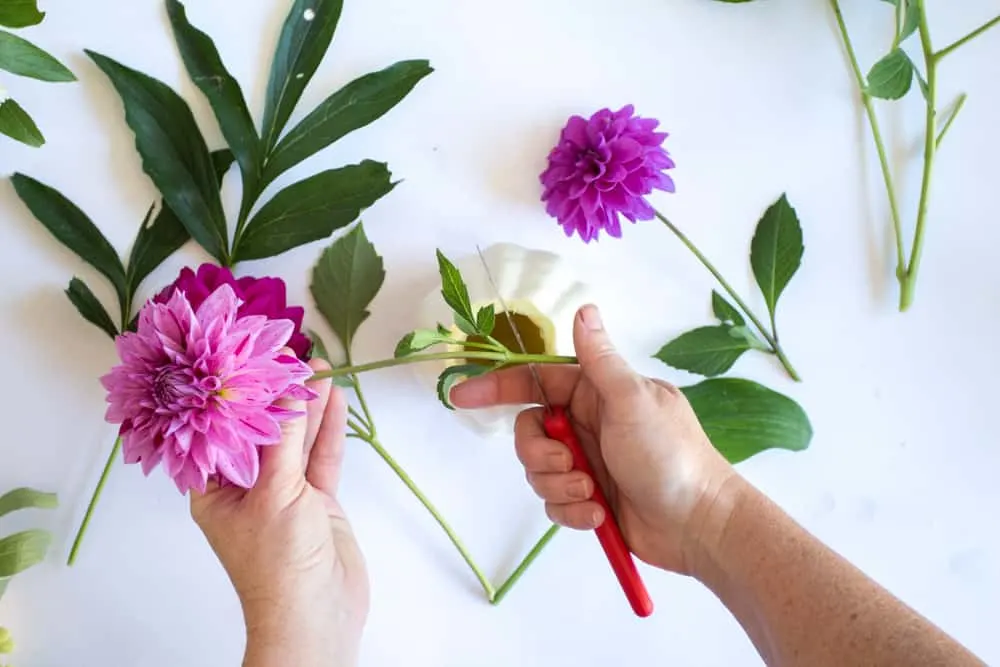
Add as many flowers and greenery as you’d like until the flower arrangement if as full as you want.
To make a pumpkin flower arrangement, you could add a piece of floral foam to the inside of the vase. This would allow you to put the stems inside and they will stay in place. Just soak the floral foam in water, then put the flowers in the foam, instead of adding water into the pumpkin.

Helpful Hints for Fresh Pumpkin Flower Vases
- Once the pumpkins have been scooped out, the pumpkin flower vases will last about 2 weeks. This will depend on your climate. For instance, in Florida, I couldn’t display these pumpkin flower vases outside for more than a few days before they would shrivel and get moldy from the heat.
- You will still need to add fresh water for the flowers as long as you keep your pumpkin flower vases full of fresh flowers.
- Consider adding a jar inside to hold water and the flowers. Then you won’t have to worry about the inside of the pumpkin getting slimy or moldy.
- Don’t have fresh flowers? I’ve used this trick with real-looking fake flowers! You don’t have to remember to water the flowers. But you’ll still have a unique pumpkin flower vase for Halloween and Thanksgiving.
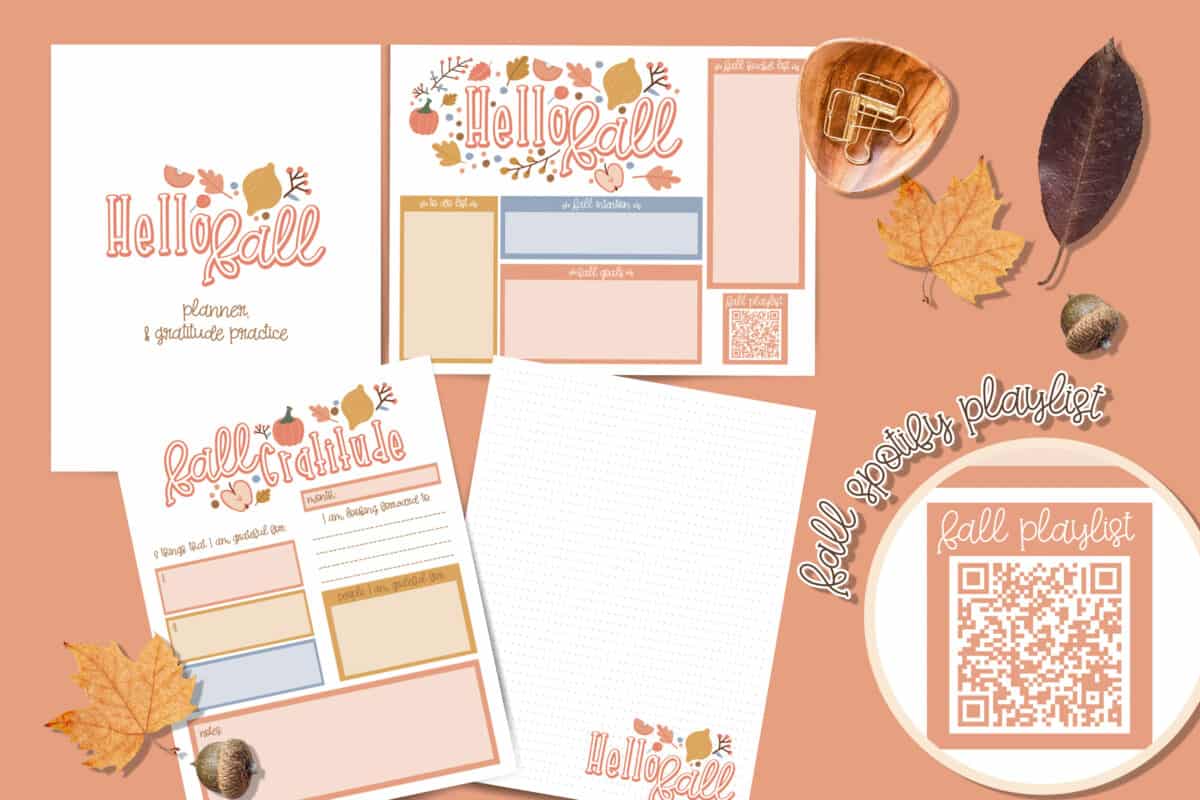
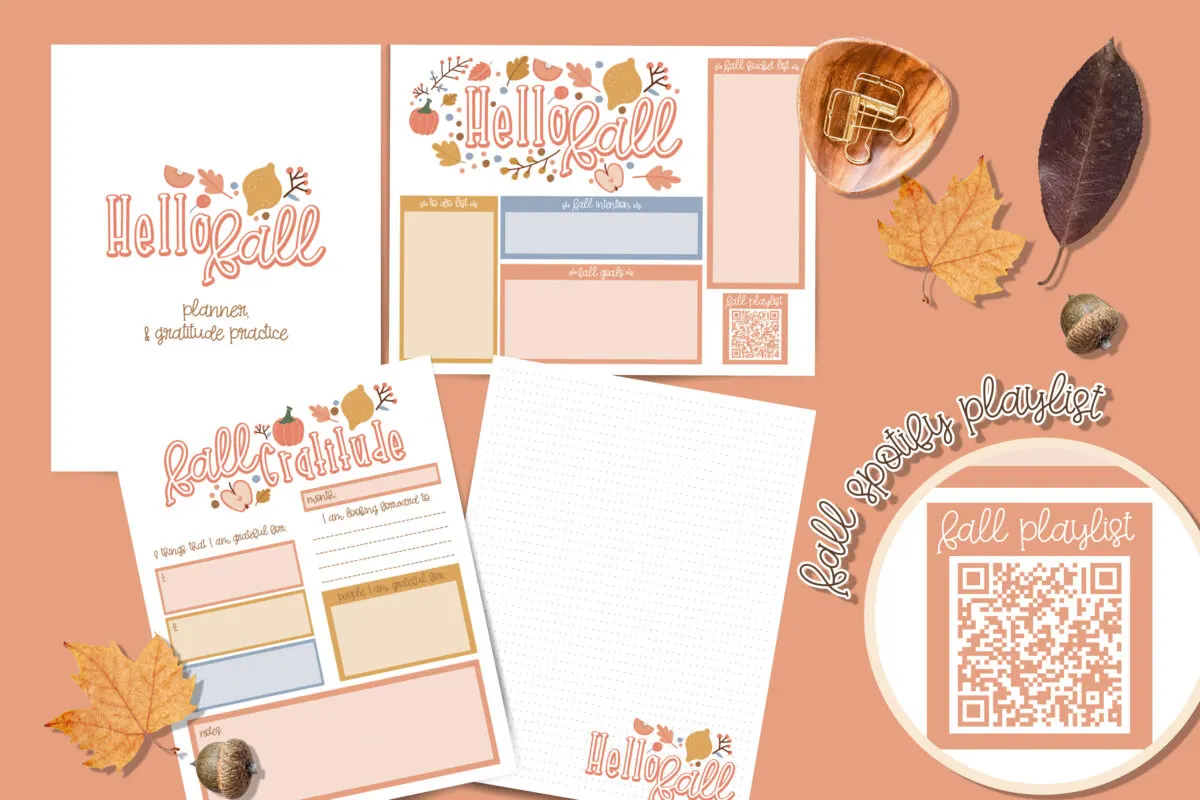
Get Your Fall Gratitude Journal Now!
Fall is a time to rest, reflect and be grateful. This printable planner and journal pack will help you capture your memories, and plan for the busy season ahead.
Want more fun ideas for Fall decorating? Our faux succulent pumpkin is also a great decoration that will last for years!
For patio decorating inspiration, see my Autumn front porch makeover on a budget!
