

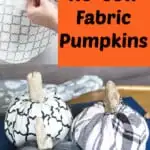


My favorite holiday decorations are always the ones that I have made or someone has made for me. For the holidays, I’m big on sentiment and bringing out decorations that have been a part of my life for years. Which is why I love this easy DIY No Sew Fabric Pumpkins tutorial.
I can use these pumpkins year after year and never have to throw them out! Plus, this is the perfect craft to use up scrap fabrics!

I’m glad that I can make heirloom crafts that can be reused over and over again in my Fall decor. It doesn’t matter what the temperature is or where I am. These scrap fabric pumpkins can make it feel like Halloween and Thanksgiving without needing to go to the store or farm and buy pumpkins.
For even more pumpkin ideas, check out my wooden pumpkins, these cute 3D Felt Pumpkins, and my upcycled berry basket pumpkin (I used this same fabric for that craft, too).
Fabric Suggestions for No Sew Fabric Pumpkins
I think you’ll enjoy this easy tutorial. It’s a great way to customize your Halloween and Fall decor to your color palette and likes.

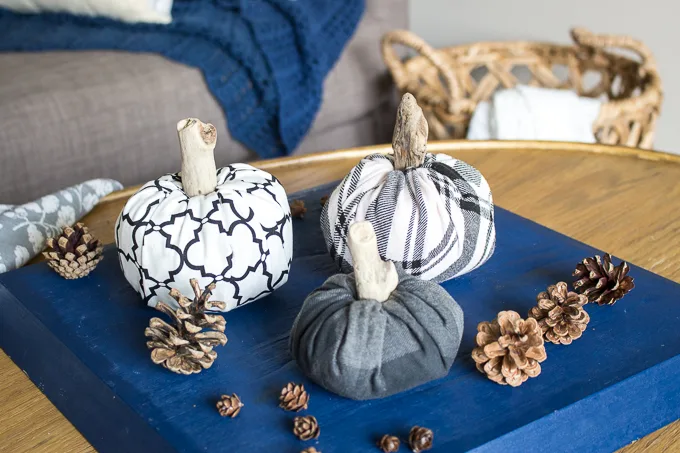
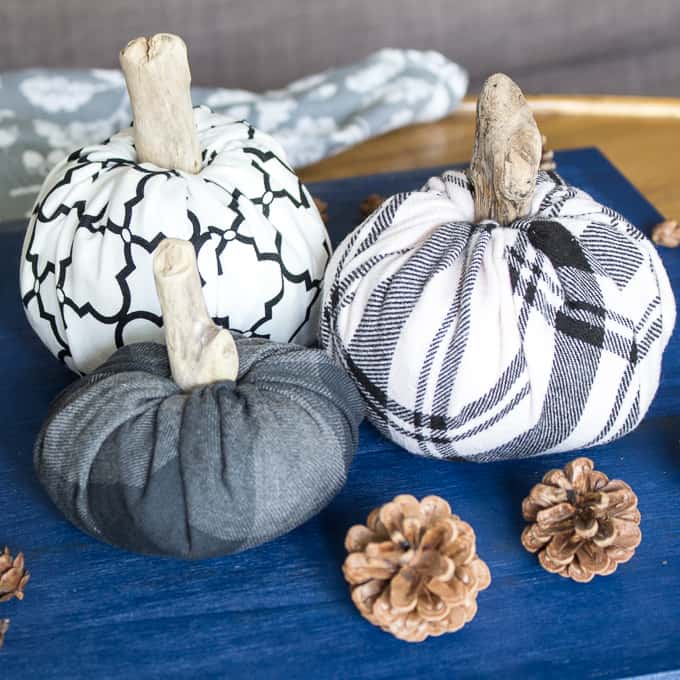
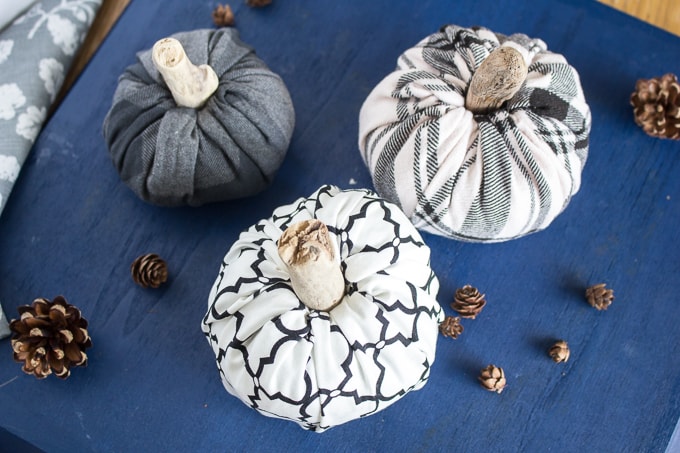
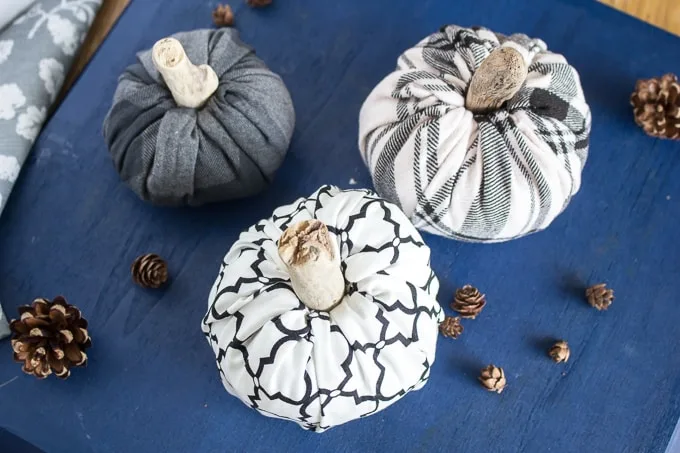
These plush pumpkins are shown in cool shades of dark blue, white and black. But don’t let that limit your creativity! Here are some fun ideas for more color variations of reusable pumpkin decor:
- Pink, turquoise and neon colors for a tween’s bedroom
- Fabric with animated characters for a boy’s bedroom
- Red gingham check and plaids for outdoor decor on a patio or rustic dinner
- All white palette for a truly minimalist look
- Burlap fabric for a rougher, textured feel
- Satin fabrics for truly elegant Halloween or Fall decor
Fabric Ideas for Heirloom Family Decorations
I also love the thought of making heirloom pumpkin decorations for your kids that they can keep for years. It’s not just Christmas ornaments that make great heirloom gifts. Why not make pumpkins, too?
Here are some great ideas for fabric pumpkins that make great family decorations:
- Use a child’s old t-shirt or clothing for the fabric
- A blanket or quilt could be cut into the squares of fabric and used
- Have kids decorate a white fabric pumpkin with fabric markers
- Your husband’s old flannel work shirt could make a cute fabric pumpkin
Helpful Tips
- While these fabric pumpkins are great to use year after year, the beans might not last for that long. Be sure that you don’t store these pumpkins anyplace where moisture and humidity is an issue. And keep them away from pests.
- If you’re making pumpkins for keepsakes, replace the dried beans with stones, pebbles, marbles, sand or other non-food item that will last over the years.
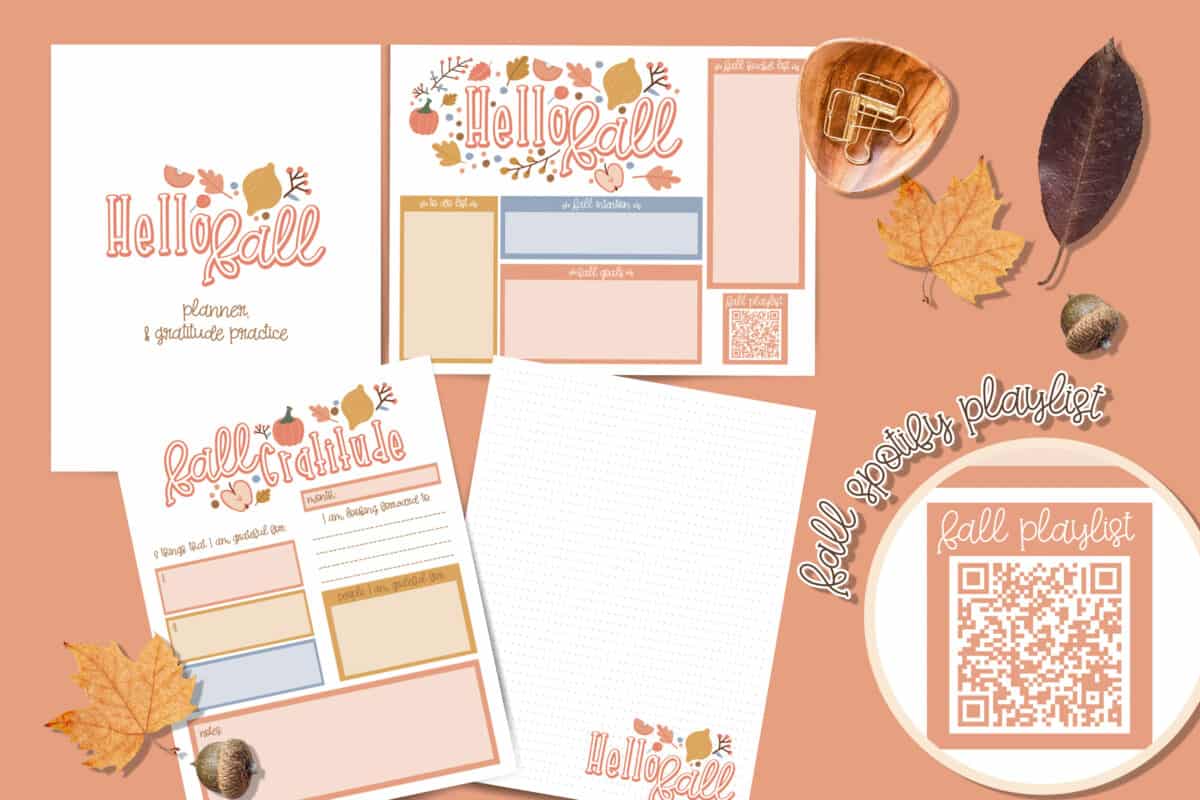
Get Your Fall Gratitude Journal Now!
Fall is a time to rest, reflect and be grateful. This printable planner and journal pack will help you capture your memories, and plan for the busy season ahead.
DIY No Sew Fabric Pumpkins Tutorial
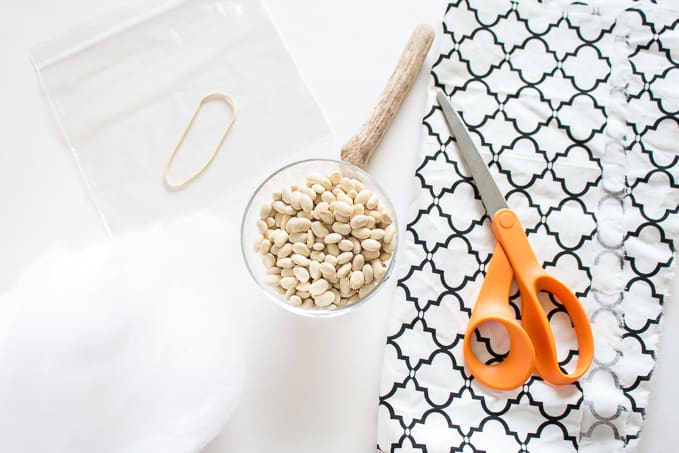
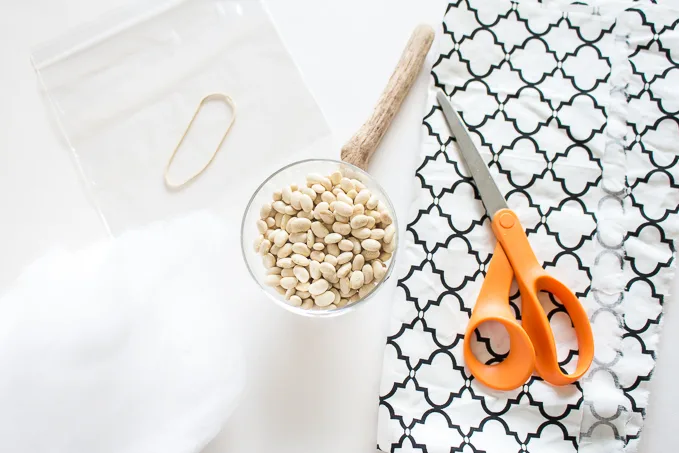
Supplies
These materials make one no-sew fabric pumpkin, 5” high (including stem) x 5” wide:
- Scrap fabric, lightweight woven material such as cotton twill, broadcloth or flannel
- Fabric Scissors
- Measuring tape or ruler
- Navy Beans, ½ cup (uncooked)
- Polyester Stuffing (you could also use an old t-shirt, stuffing from an old pillow – anything that’s soft and fluffy)
- Driftwood or tree branch, 4” long x 3” circumference (a cut dowel also works)
- Plastic zipper sandwich bag
- Rubber band
Instructions
Step 1
Iron the fabric prior to starting to remove all creases and wrinkles.
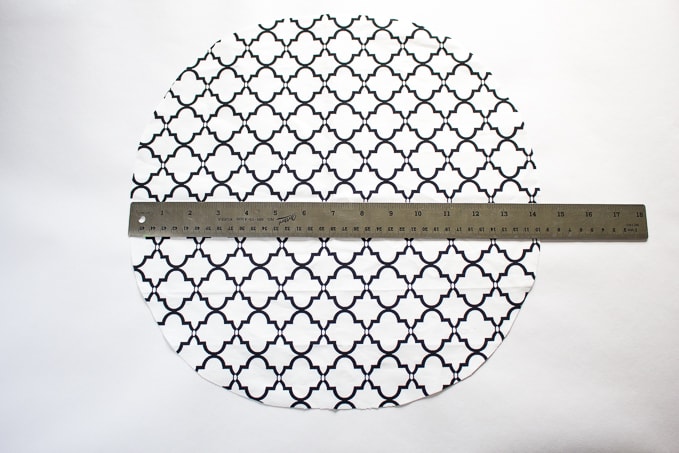
Using scissors, cut scrap fabric into a circle shape that measures 14” in diameter.
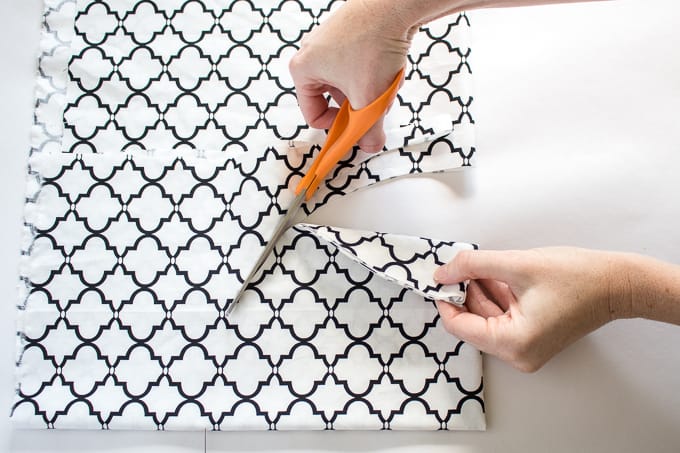
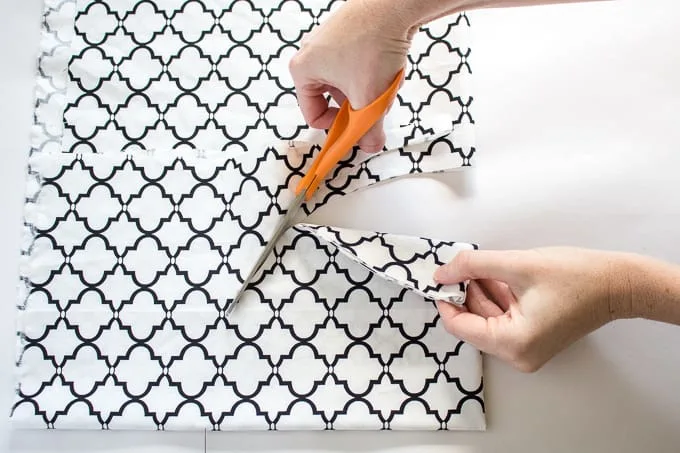
Tip for cutting fabric into a circle: Fold the fabric in fours. Measure and mark 7” along each side length and at the center length on the 45 degree angle. Cut the fabric joining the marked points. Put circle aside.
Step 2
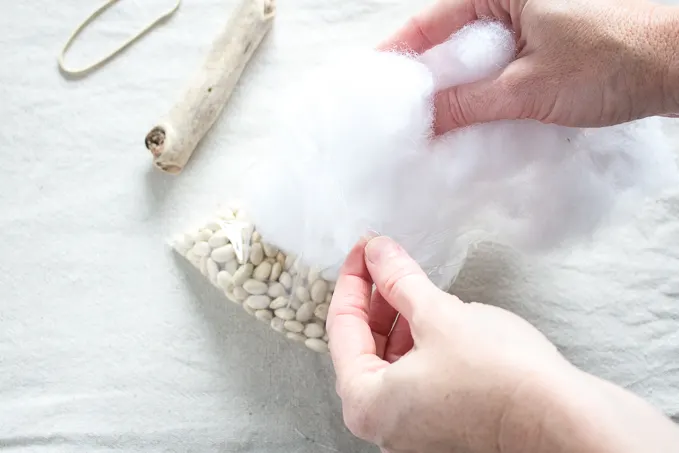
Fill the plastic sandwich bag with ½ cup of uncooked navy beans. Or use another weighted material, such as sand.
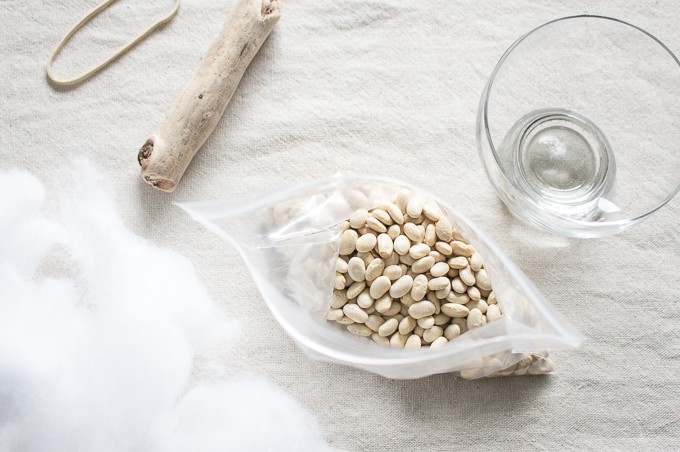
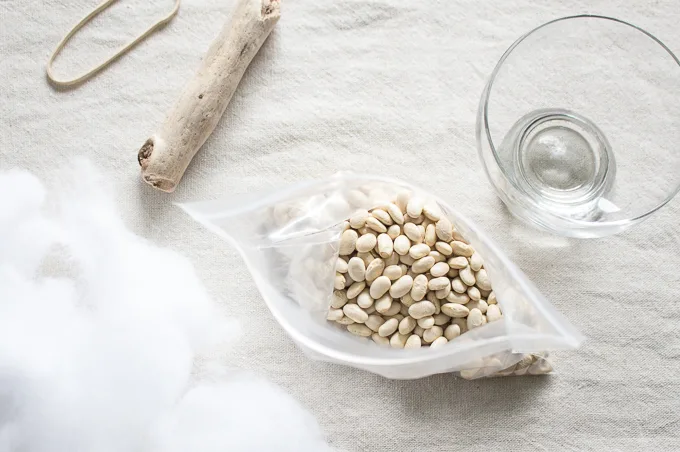
Fill the rest of the bag with polyester stuffing. Place over top of the beans.

Insert the driftwood into the middle of the bag through the polyester stuffing with one end poking out of the bag in the center. Seal the bag closed on both sides of the driftwood.
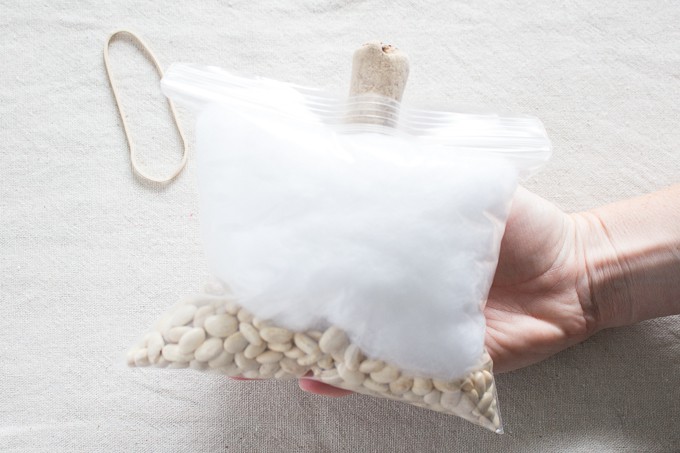
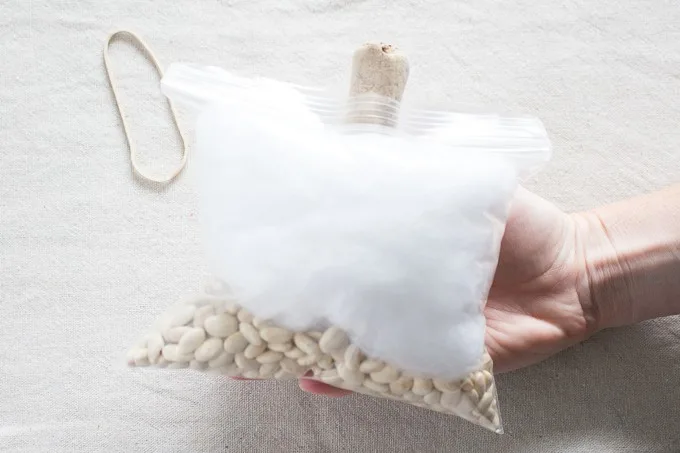
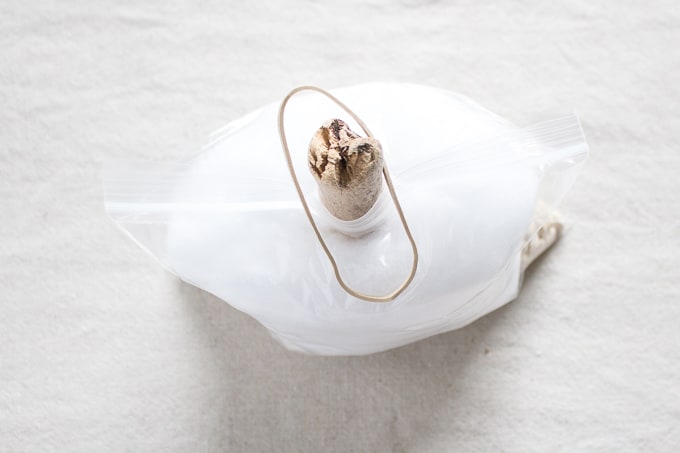
Loosely wrap an elastic band around the driftwood and let it fall to the top of the bag. Do not wrap it around the stem yet.

Step 3
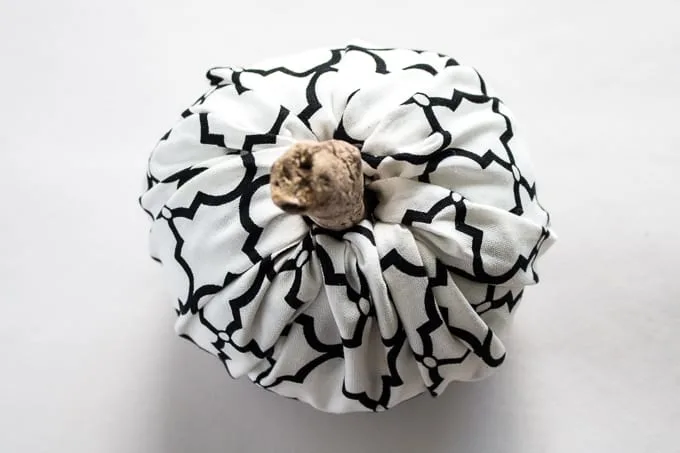
Lay the fabric circle with right side facing down and place the filled bag in the center.

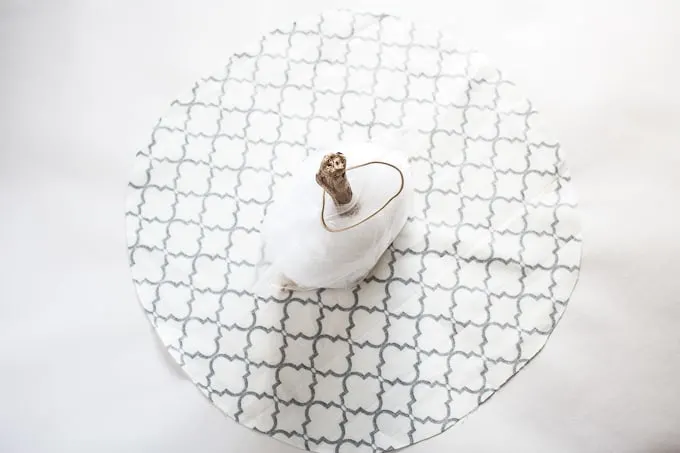
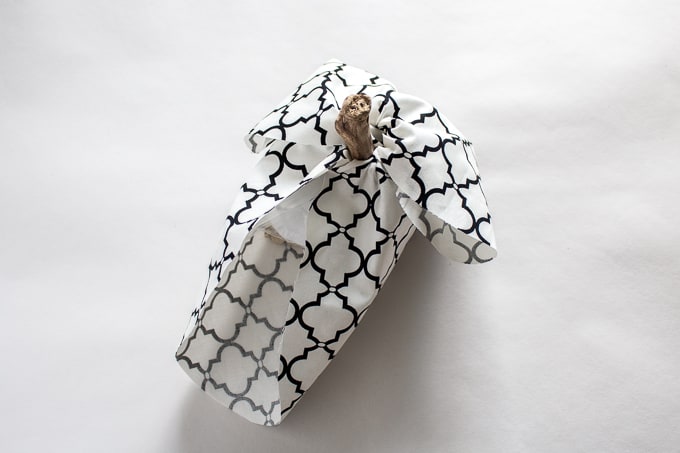
Begin folding the fabric edges up and into the elastic band.
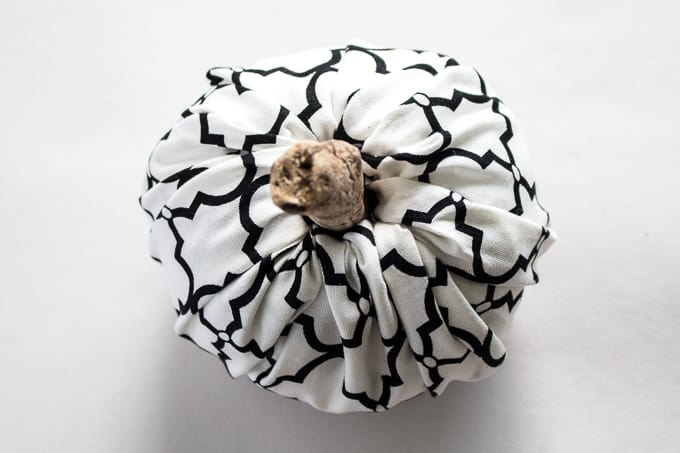
Work one side at a time until all fabric edges are folded in, with the rough edges tucked under the rubber band so that they don’t show. Adjust as needed until the desired look is achieved.


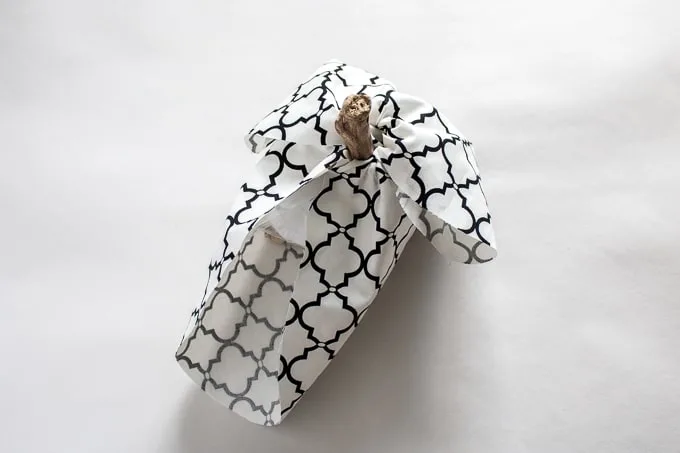
If the driftwood lifts up and out as you fold in the fabric, simply push it down to where it needs to be and continue folding in the fabric.
If you liked this tutorial for easy no-sew fabric pumpkins, be sure to check out all of my simple fall crafts.
